Install Multiple Node.js Versions With NVM (Node Version Manager) on Windows

Whether you are developing your own Node.js applications or exploring Internet of Things (IoT) platforms like Node-RED or any other similar IoT platforms, you might come across running to Node.js error due to various applications were developed on different Node.js version. For example, you local computer has Node.js v12.6.0 installed but the applications that your teams developed runs on v6.10.0 and cannot be run on different Node.js version.
Do I need to uninstall my current Node.js version and install a new one?
Thanks to NVM (Node Version Manager), you do not need to do that. You can still keep your current version and install another version at the same time. After you have installed different Node.js versions, you can easily switch between any Node.js version you desired. In this article, I will share how to do that on Windows and here is how.
Step 1: Install NVM on your local Windows computer
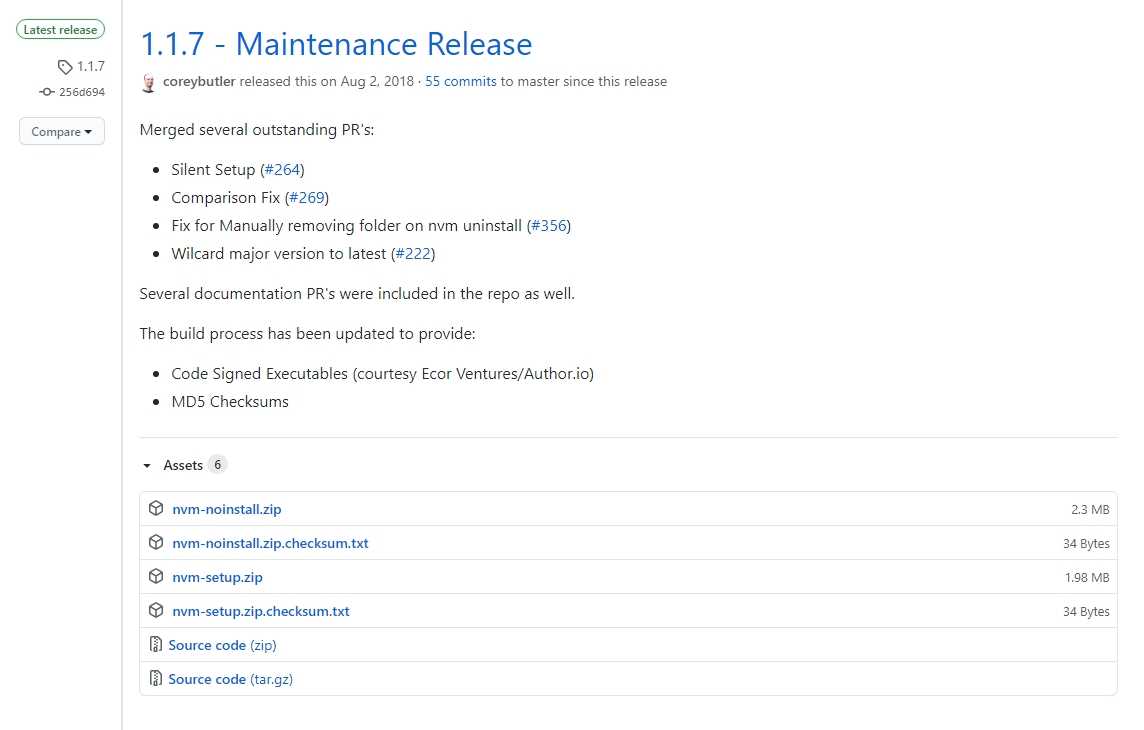
Download and install NVM for Windows and get the latest release.
Step 2: Install different Node.js versions
Open command prompt, cmd.exe (or cmder if you are using) and follows the commands to install Node.js.
Run nvm to check NVM has installed successfully
$ nvm
Running version 1.1.7.

Usage:

  nvm arch                     : Show if node is running in 32 or 64 bit mode.
  nvm install <version> [arch] : The version can be a node.js version or "latest" for the latest stable version.
                                 Optionally specify whether to install the 32 or 64 bit version (defaults to system arch).
                                 Set [arch] to "all" to install 32 AND 64 bit versions.
                                 Add --insecure to the end of this command to bypass SSL validation of the remote download server.
  nvm list [available]         : List the node.js installations. Type "available" at the end to see what can be installed. Aliased as ls.
  nvm on                       : Enable node.js version management.
  nvm off                      : Disable node.js version management.
  nvm proxy [url]              : Set a proxy to use for downloads. Leave [url] blank to see the current proxy.
                                 Set [url] to "none" to remove the proxy.
  nvm node_mirror [url]        : Set the node mirror. Defaults to https://nodejs.org/dist/. Leave [url] blank to use default url.
  nvm npm_mirror [url]         : Set the npm mirror. Defaults to https://github.com/npm/cli/archive/. Leave [url] blank to default url.
  nvm uninstall <version>      : The version must be a specific version.
  nvm use [version] [arch]     : Switch to use the specified version. Optionally specify 32/64bit architecture.
                                 nvm use <arch> will continue using the selected version, but switch to 32/64 bit mode.
  nvm root [path]              : Set the directory where nvm should store different versions of node.js.
                                 If <path> is not set, the current root will be displayed.
  nvm version                  : Displays the current running version of nvm for Windows. Aliased as v.
Run nvm install 10.16.1 in order to install specific node version.
Non-LTS: Run nvm install latest to install the latest version of Node.js. This will download latest non-LTS version.
Note: You can also go to official nodejs.org to check the latest version of Node.js
Step 3: Almost done
Run nvm list to see all the Node.js versions installed.
$ nvm list
  * 12.18.2 (Currently using 64-bit executable)
    12.16.2
    10.16.1
    6.10.0
Use nvm use <version> to switch among your desired Node.js version
$ nvm use 10.16.1
Now using novde v10.16.1 